
kitchen planning
How to Measure Your Kitchen for RTA Cabinets: A Step-by-Step DIY Guide
Measure once, order once. A wall-by-wall method for measuring a kitchen before ordering ready-to-assemble cabinets, with standard dimensions, appliance clearances, and the mistakes that cause costly reorders.
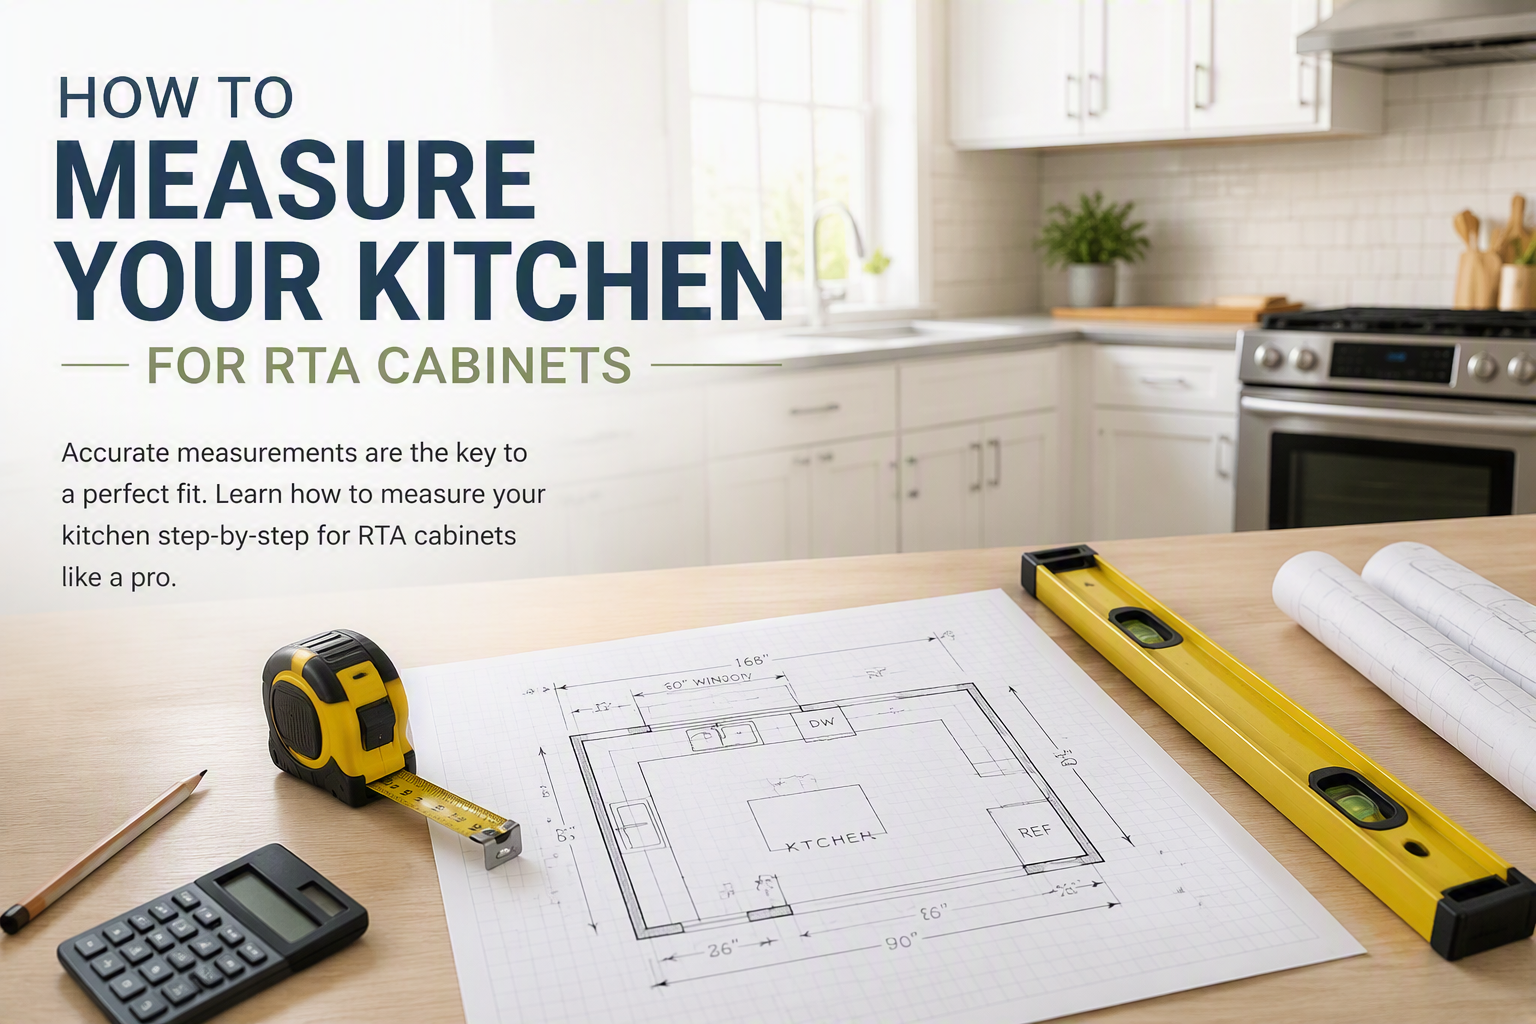
Ready-to-assemble cabinets are only a bargain if the boxes actually fit. Almost every expensive remodel mistake traces back to the same root cause: a measurement taken once, in one spot, on a wall that was never square to begin with. Spend two careful hours with a tape measure and you avoid reorders, restocking fees, and a kitchen that sits half-finished while replacement parts ship.
This guide walks through the exact sequence a professional designer uses, in the order they use it.
Before you start
Work in inches, not feet and inches. Write 38 1/2, never 3 ft 2 1/2. Mixed units are where transcription errors are born.
1. Gather the Right Tools
Precision here is cheap. Guessing is not.
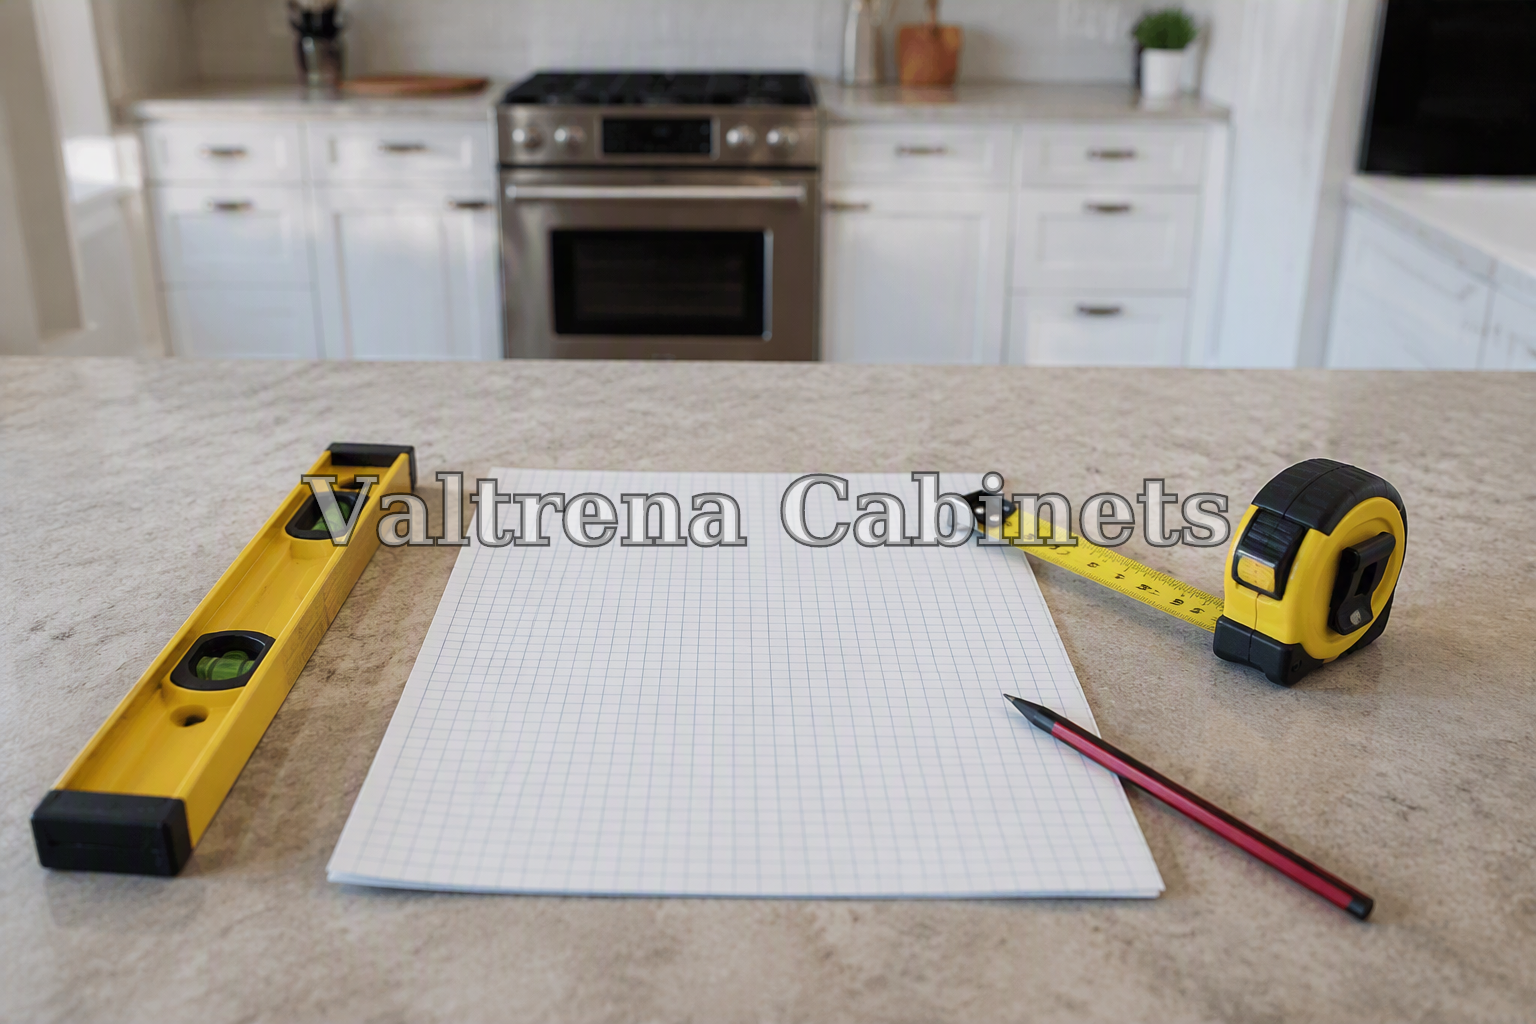
- A 25-foot steel tape measure — cloth tapes stretch and lie to you
- Graph paper or a printed grid sheet, plus a pencil with an eraser
- A 4-foot level to check whether floors and walls are actually true
- A step ladder for ceiling and soffit heights
- Your phone, for photos of every wall and every utility connection
2. Sketch the Room Before You Measure Anything
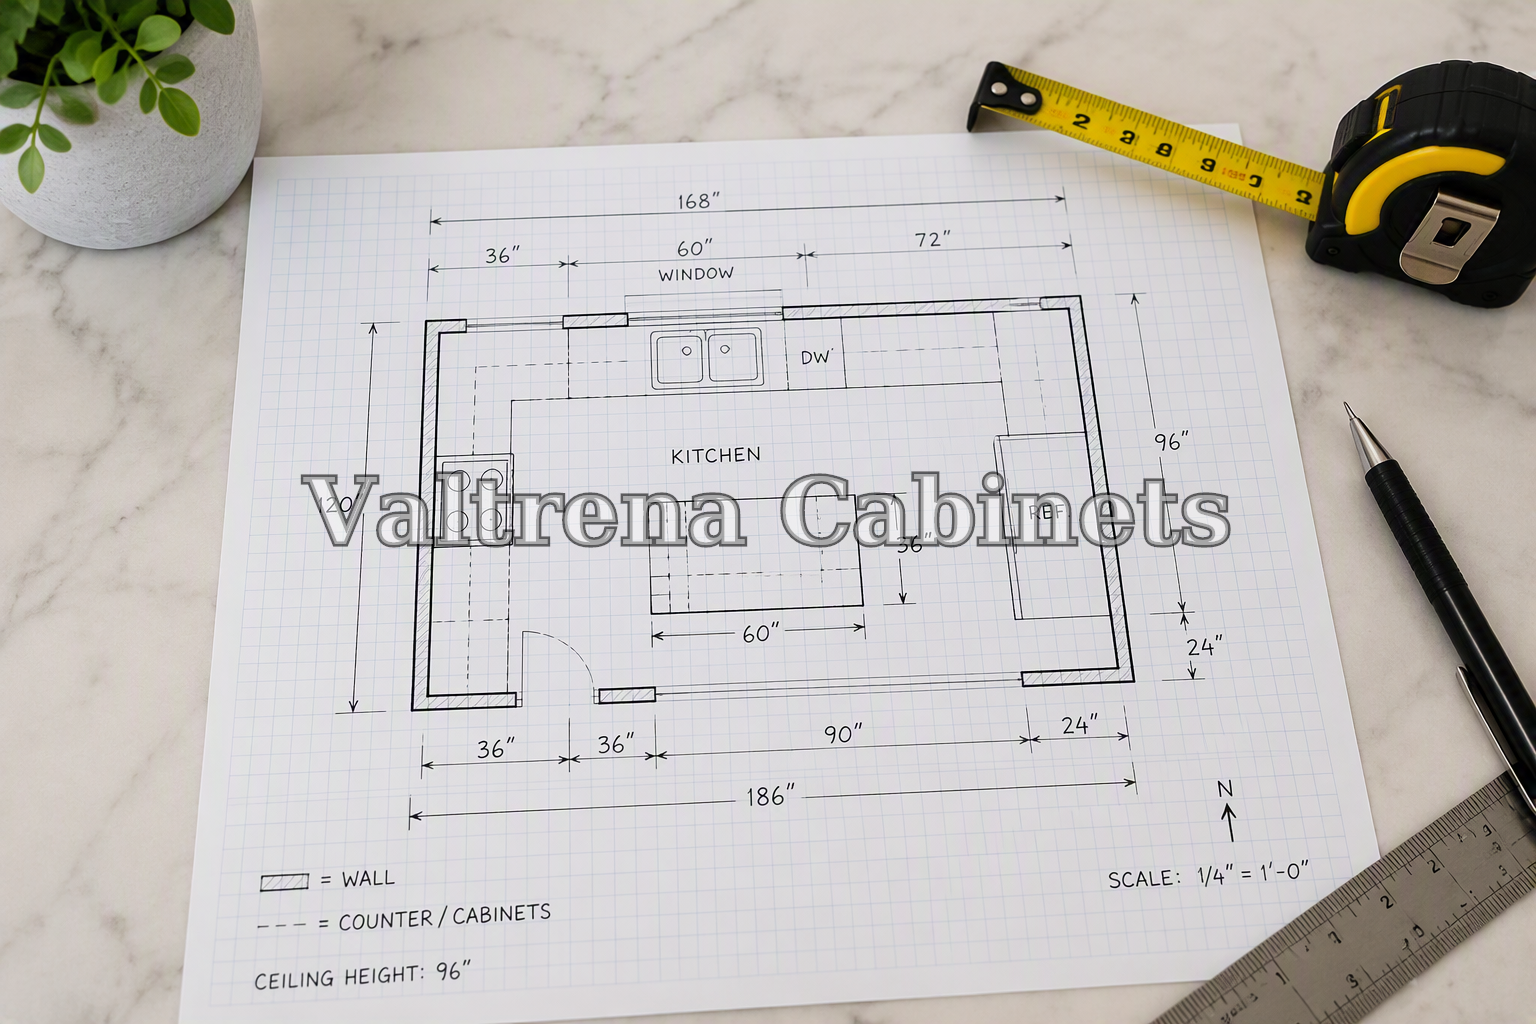
Draw the outline of the kitchen from above, one wall per line, before a single number goes on the page. Label the walls A, B, C, D clockwise starting from the main entry, then mark the doorway, the window, the sink, and the range.
Doing this first gives every measurement a home to land in. Measuring first and sketching later is how numbers end up attached to the wrong wall.
3. Measure Wall to Wall, Corner to Corner
For each wall, record three numbers, not one:
- Overall wall length, corner to corner, measured at the finished floor
- The same length measured at 36 inches up — the height of a countertop
- Ceiling height, measured in at least three places along the wall
If those numbers disagree by more than a quarter inch, the wall is out of plumb or the floor is out of level. That is normal in older homes and it is not a problem — as long as you know about it before you order.
Always plan to the smallest of the three measurements. A cabinet run that fits the widest reading will not fit anywhere else.
Standard practice in every cabinet shop
4. Mark Every Window, Door, and Obstruction
For each opening, capture three things: the distance from the nearest corner to the edge of the trim, the width of the opening including trim, and the height from the floor to the bottom and top of the opening.
Then note anything that projects into the room — radiators, chases, bulkheads, soffits, exposed pipes — and the swing direction of every door. A door that opens into a base cabinet is a design problem you want to discover on paper, not on installation day.
5. Locate Plumbing, Gas, Electrical, and HVAC
Measure from the floor and from the nearest corner to the center of every connection point.
- Sink drain and supply lines, plus the vent stack if it is visible
- Gas line for the range, or the dedicated 240V outlet if the range is electric
- Outlets, switches, and any junction boxes on the wall
- Heating and cooling registers, including toe-kick registers
- Dishwasher supply, drain, and power
Why this one matters
A sink base cabinet has a solid back panel and a false drawer front. If the drain sits four inches off center from where the sink base lands, someone is cutting a hole in a finished cabinet on site. Knowing that in advance turns a crisis into a five-minute job.
6. Know the Standard Dimensions You Are Designing Against
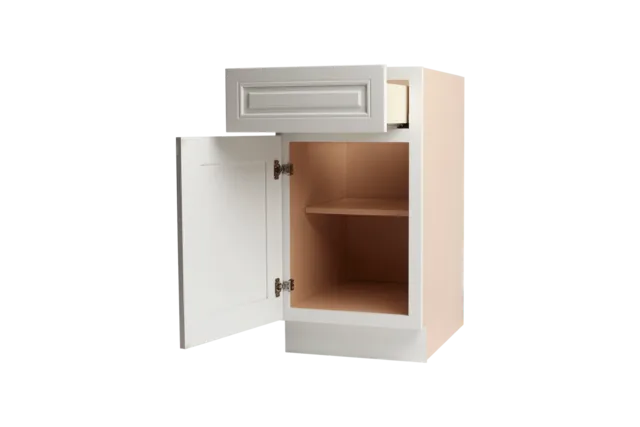
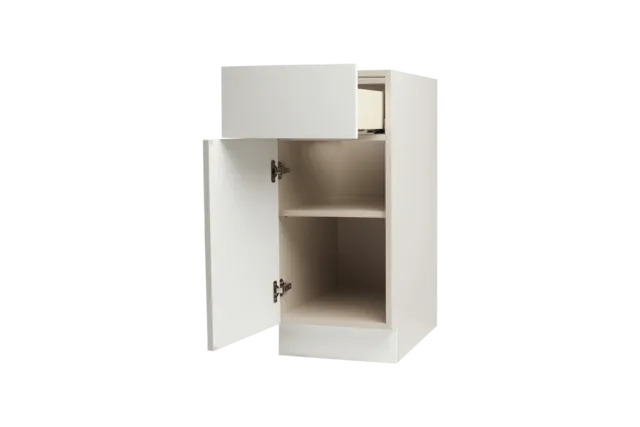
RTA cabinets come in fixed sizes, so your layout has to be built from them. Learn the grid before you start placing boxes on the sketch.
| Cabinet | Height | Depth | Widths |
|---|---|---|---|
| Base | 34 1/2 in (36 in with countertop) | 24 in | 9–48 in, 3 in steps |
| Wall | 12, 15, 18, 24, 30, 36, 42 in | 12 in | 9–48 in, 3 in steps |
| Tall / pantry | 84, 90, 96 in | 12 or 24 in | 18–36 in |
| Vanity | 31 1/2 in (34 1/2 in comfort height) | 21 in | 24–72 in |
Two more numbers worth memorizing: the toe kick is 4 1/2 inches tall and 3 inches deep, and the standard gap between the countertop and the underside of the wall cabinets is 18 inches.
Because widths move in 3-inch steps, your wall length will almost never divide evenly. That leftover space is expected — step 8 explains what to do with it. You can check the exact sizes each door style is offered in on our framed cabinet pages.
7. Plan Appliance Openings and Walkways
Appliance openings are the least forgiving measurements in the whole project. Pull the spec sheet for the exact model you are buying rather than trusting a rule of thumb.
- Freestanding range — 30 inches wide is standard, 36 inches for a pro-style unit
- Dishwasher — a 24-inch opening, full height from floor to the underside of the countertop
- Refrigerator — manufacturer width plus 1 inch for air circulation, and confirm the door can swing fully open without hitting a wall or adjacent cabinet
- Over-the-range microwave or hood — usually 30 inches of clearance above an unprotected cooking surface
- Walkways — 42 inches minimum for a one-cook kitchen, 48 inches when two people work at once
8. Build In Filler Strips and Scribe
Never plan a run of cabinets that spans a wall exactly. Leave 1 to 3 inches at each end for filler strips. Fillers absorb the out-of-square walls you found in step 3, give doors and drawers room to open past adjacent walls, and hide the accumulated fraction of an inch that every run collects.
The same logic applies in corners. Two runs meeting at an inside corner need clearance so a drawer on one run does not collide with a door pull on the other. Three inches of filler there is standard practice, not wasted space.
9. Verify Before You Order
Walk the kitchen one more time with the finished sketch in hand and confirm every number against the wall. Then add the cabinet widths for each run and compare the total to your wall measurement. If the arithmetic does not close, the error is in your numbers, not in the cabinets.
Take photos of all four walls and every utility connection. When a question comes up mid-project, a photo answers it in seconds.
Common Mistakes That Cause Reorders
- Measuring only at one height and assuming the wall is plumb
- Rounding up to the nearest inch instead of recording the fraction
- Measuring over existing cabinets, baseboard, or tile that will be removed
- Forgetting that crown molding needs clearance between the cabinet top and the ceiling
- Using a generic appliance size instead of the spec sheet for the model being purchased
- Ignoring door and drawer swing near corners and walls
- Planning a run that fits the wall exactly, with no filler
Pre-Order Checklist
- All four walls measured at floor level, at 36 inches, and at the ceiling
- Ceiling height recorded in at least three locations
- Every window and door dimensioned from the nearest corner
- All plumbing, gas, electrical, and HVAC locations recorded
- Appliance specs pulled from the actual model numbers
- Filler strips allocated at wall ends and inside corners
- Cabinet widths summed and reconciled against wall lengths
- Photos taken of every wall and utility connection
Ready for the next step
With an accurate set of measurements, ordering becomes straightforward. Browse the full cabinet catalog for specifications on every line, or send your sketch through our free quote tool and we will check the layout before you place the order.